


My Top Wedding Day Tips for a Relaxed Wedding
Help & advice for planning your wedding day
After photographing over 350 weddings, I’ve seen just about everything, from perfect golden sunsets to groomsmen who mysteriously vanish right before the group photos. So trust me when I say, I’ve picked up plenty of fun, stress-saving wisdom along the way.
This wedding day guild is bursting with little gems to help you plan your big day. I’ll share my favourite wedding day tips, including how to build a relaxed wedding timeline, organise group photographs, plan for bad weather, make the most of golden hour and get better wedding photos without spending the whole day posing for the camera. I’ll also cover plenty of those little details you might not have even considered.
Let’s make your wedding look incredible while keeping things totally chilled.

Make Your Wedding Day Your Own
Your wedding doesn’t have to follow the rulebook. In fact, I love it when I see you rip it up a little, and do things your way!
Whether you’re planning a full-blown festival wedding, a laid-back day in a fancy manor house, a tiny gathering with your favourite people, or something completely bonkers that nobody’s done before, make it yours. Dance until your feet hurt, skip the bits that don’t matter to you, keep things beautifully simple, or go all-out. There’s no right or wrong way to do it.
And it’s not just about finding a cool venue or choosing the perfect colour palette. It’s the little things that make a wedding feel like you. Maybe that’s a nod to your favourite music, cake toppers featuring your pets, a table named after the place you first met, photos from your travels, a favourite sport, a ridiculous in-joke, or décor inspired by the festivals you’ve spent summers dancing at, long into the night.
You don’t need to be Pinterest-level creative either. Borrow ideas you love, steal a little inspiration, then mix it up and make it your own. Swap things around, break a few traditions, add the weird stuff, leave out anything that feels like it’s there just because you’re “supposed” to do it.

How to Plan Your Wedding Day Timeline
Giving yourself plenty of time for the important parts of your wedding day is one of the easiest ways to keep everything relaxed.
During bridal preparations, aim to be completely ready 30–45 minutes before you need to leave for the ceremony, or before your registrar interview if you’re staying at the same venue all day. Getting ready often takes longer than expected, and having that extra buffer means there’s no need to rush. It also gives us time to capture those beautifully calm, natural photos before the day really gets going.
This extra time is perfect for a first look with Dad, some lovely photos with Team Bride once everyone’s hair and makeup is finished, and generally enjoying those last few moments before heading off to the ceremony.
How long do wedding photos take?
After the ceremony, I recommend allowing 90 minutes to 2 hours before you’re announced into the wedding breakfast room.
Straight after your confetti moment, allow roughly:
> 30 minutes mingling with your guests
> 30 minutes for group photos
> 30 minutes for your couple portraits
This gives us enough time to capture everything without making the afternoon feel like one big photoshoot.
Following your meal and speeches, give yourselves at least an hour before the evening party begins. This gives your food time to settle, allows evening guests to arrive and creates a relaxed transition into the night time celebrations. It’s also an ideal opportunity for some fun photos with friends, along with romantic sunset couple portraits if the timing works.
A TRIED-AND-TESTED SUMMER TIMELINE
Here’s an example of a relaxed summer wedding timeline when everything is taking place at one venue:
2pm – Ceremony
2.30pm – Confetti photo and whole wedding party group photo (if required)
3pm – Group photos
3.30pm – I photograph the décor in the wedding breakfast room
3.45pm – Couple photos
4pm – Guests seated for the meal while you finish your couple portraits
4.15pm – Couple announced into room and food served
6.15pm – Speeches
7pm – Chill out before the main party
8-8.30pm – Cake cut followed by first dance
9-9.30pm – Evening food served
Of course, every wedding is different, so this is simply a starting point rather than a rulebook. I’m always happy to help you work out a timeline that suits your plans, venue and photography.
Winter & Multi-Venue Wedding Photography
If you’re getting married in winter or travelling between venues, it’s always worth considering an earlier ceremony. A start time between 12pm and 1pm can work really well. During the colder months, daylight disappears quickly, and an earlier ceremony gives us much more natural light for your photos, which can make a huge difference to the final results.
If you’re travelling between venues, remember to factor in the journey time, parking and the inevitable “Where is everyone?” moments. A little extra breathing room in the schedule can save a lot of stress later.

Say “I Do” Your Way
When you book a registrar, they will often work from a set script that they use for many different couples. While this can be a lovely and traditional way to conduct your ceremony, it may not always feel as personal or unique to you as a couple.
A great alternative to consider is booking a celebrant or asking a confident friend or family member to conduct the ceremony. This can give you much more freedom to create a ceremony that truly reflects your relationship, personalities and story.
A friend or family member already knows you well, so they can bring a really personal touch to the ceremony and share stories and memories that your guests will recognise and enjoy. Alternatively, a celebrant will take the time to meet with you, get to know you as a couple and understand what makes your relationship special.
They can then create a ceremony that feels completely personal to you, incorporating how you met, your journey together, funny stories, special memories, shared interests and meaningful moments from your relationship.
Rather than simply following a standard script, a celebrant can help tell your story and make your ceremony feel relaxed, authentic and memorable. It’s a wonderful opportunity to make the ceremony feel less like a formality and more like a true reflection of the two of you.

Cheeky kiss down the aisle
If you’re feeling brave, why not sneak in a cheeky kiss as you walk back down the aisle, just moments after saying “I do”? It’s a simple little move, but it’s sure to create a memorable moment and get an amazing reaction from all your nearest and dearest.
Whether it’s a quick peck on the cheek, a big romantic kiss or something a little more playful, it’s a great way to have a bit of fun and let everyone know the celebrations are well and truly underway.

Nailing the perfect confetti shot
From my experience, the best time for confetti photos is right after your ceremony. All your guests are already gathered, making it quick and easy to organise them into a fun tunnel for you to walk through. The more confetti, the better it looks in photos, so don’t hold back when ordering! Choose biodegradable options and go for bold colours to really make the photos pop. I personally find paper confetti photographs best, but dried petals can work beautifully too. And if you have any leftover, perfect, we can use it during your couple portraits to add a bit of fun.
Make sure you take a look at Proper Confetti on Etsy. They have an awesome range of colours to suit all wedding styles and look damn good in photos!
Confetti cannons are also a brilliant way to add some fun to your shots. Grab a few and save some for the dancefloor chaos later on. Ginger Ray’s online store has loads of great options, adding fun to your day without costing the earth.

Wedding Smoke Bomb Photography & Safety
I absolutely love using smoke bombs on a wedding day. They add a gorgeous pop of colour to your photos and are such a fun way to elevate your images. You can incorporate them during your couple portraits or gather your bridesmaids and groomsmen for some truly epic group shots.
Safety is really important, so there are a few things to keep in mind. Smoke bombs can get hot, so they should only be used away from the main wedding party and kept clear of flammable areas. It’s also essential to check with your venue in advance to make sure they allow them, so send them a quick email before buying anything.
You’ll need a metal bucket for disposing of used smoke bombs and some water to help cool them afterwards. Some venues may be able to assist with this. They’re best used outdoors in open spaces, and it’s wise to avoid dry areas that could pose a fire risk, such as long grass on hot summer days.
If I believe the situation isn’t safe, I may decline to take smoke-bomb photos. This could be due to intoxicated guests, unsuitable locations, or not having the proper equipment for safe disposal.
There is always a small risk of stains on dresses or fabrics. Keeping a distance of around four feet from the device while standing in the smoke cloud generally helps minimise this. Smoke bombs can also produce occasional sparks, so they should never be pointed at anyone or held above your head.
Although I haven’t had any issues personally, I’m aware of incidents elsewhere, so I want you to be fully informed before purchasing. Using smoke bombs is entirely at your own risk, but they can be an amazing addition to your photos when handled safely and responsibly.
My preferred choice is the Enola Gaye WP40 Wire Pull Smoke Grenade. They tend to burn cooler than many alternatives, and they’re made with non-toxic smoke and a fully biodegradable body, which is a big plus.
Check the Enola Gaye online store, which offer a great selections of colours.
How to Organise Your Wedding Group Photos
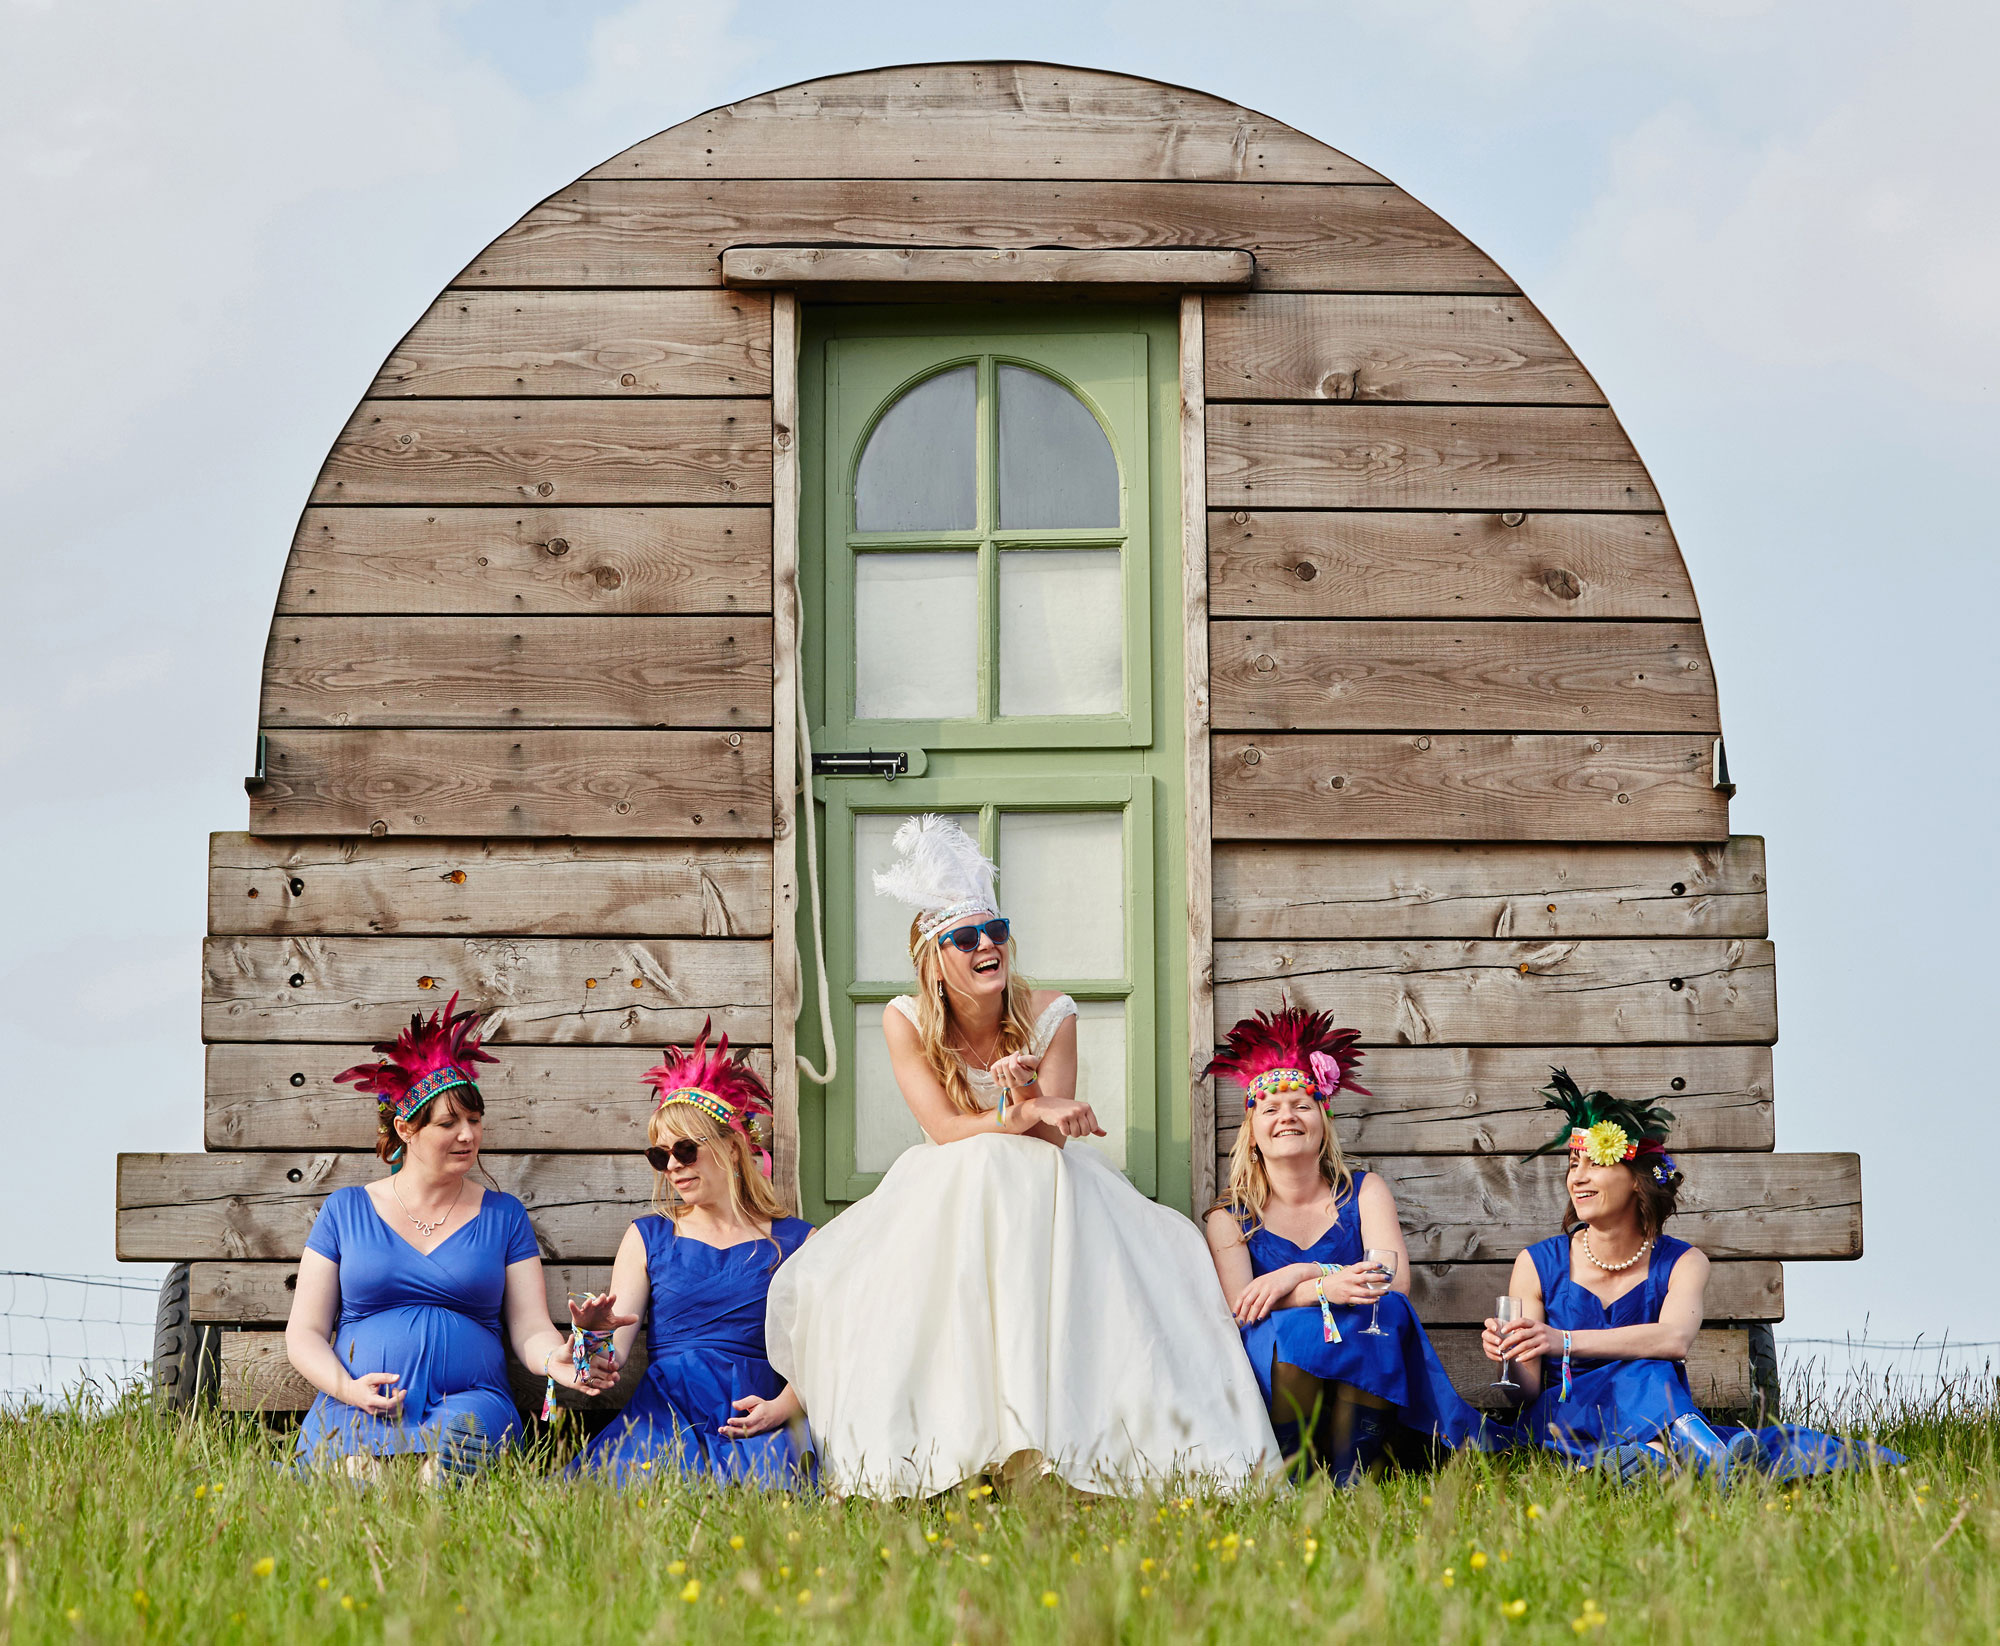
Let’s be honest, no one wants to stand around posing for group photos for too long on a wedding day, especially when there are drinks to be had. But group photos are important. Getting all your favourite people together in one place is often a rare moment, and these are the photos you’ll be glad you have years down the line.
Before your wedding, I’ll ask you to provide a list of the group photos you’d like. You’ll receive this as part of your information form. I usually recommend keeping your list to around 5–10 groups. Depending on how quickly everyone can be gathered, this part of the day typically takes around 20–30 minutes.
I’m more than happy to photograph additional groups if you’d like, but just keep in mind that the more time we spend organising formal photos, the less time I have to capture the candid moments happening naturally throughout the day, and those are the photographs I specialise in.
And, of course, you and your guests can request extra group photos at any point during the day. If everyone happens to be together, I’ll happily grab the shot.
It’s also really helpful to have a groomsman, bridesmaid or family member available to help round people up. Taking the photos themselves is quick, finding everyone is the tricky bit!
I also love capturing more relaxed, fun group shots, especially with bridesmaids, groomsmen and friends. The time between the end of the meal and the evening celebrations can work brilliantly for these. By then, guests have usually had a drink or two (or more!), and the playful, silly moments tend to happen much more naturally.
Example Wedding Group Photo List
Here’s an example of a list that gives you a good balance between capturing the key people without taking too long:
> Couple and brides family
> Couple & brides parents
> Couple with both sets of parents
> Couple & grooms parents
> Couple and grooms family
> Couple with grandparents
> Couple with bridesmaids & groomsmen
> Bride with bridesmaids
> Groom with groomsmen
It’s important to remember that I’ll be taking plenty of candid photos throughout the entire day. I’ll do my best to photograph all your guests, but I’ll definitely make sure I capture plenty of photos of all the key people.

Wedding Photography Tips for Rainy Weather
Plan for the worst, hope for the best, especially when it comes to the weather. It’s one of the few things you can’t control on your wedding day, so having a rainy-day backup is always a smart move. Most venues come with great indoor and outdoor options, but if you’re hosting a more DIY celebration, make sure your marquee or tipi can comfortably fit all your guests if the skies open. And for outdoor weddings, don’t forget to pack wellies or other sensible footwear, just in case.
It’s also worth investing in a few clear or white umbrellas that look good in photos. They’re one of those things you’d rather have and not need than the other way around. After the wedding, you can easily sell them on or keep them as a sweet memento.
And if it does rain (fingers crossed it doesn’t), remember it’s far from a disaster. Your wedding day is about celebrating your love with the people who matter most. Come rain or shine, your day will be unforgettable.

Wedding breakfast entrance
Once all your guests are comfortably seated and the wedding breakfast is ready to begin, it’s time to make your grand entrance.
Pick an upbeat song that gets everyone in the mood and brings plenty of energy into the room. Why not rope in one of your groomsmen to do a little announcing and get everyone involved? Get the guests up on their feet, waving their napkins above their heads and making as much noise as possible. By the time you make your entrance, the whole room should be buzzing
It’s a brilliant way to kick off the wedding breakfast, get everyone laughing and create one of those fun little moments that you’ll remember for years to come. Go big, have fun and enjoy your moment.

Alfresco speeches
This is something you might not have considered, but if your venue, time of year, and weather allow, having speeches outdoors can feel wonderfully relaxed and informal. Gather all your favourite people, champagne in hand, and use your venue’s natural scenery as a memorable backdrop for those hilarious and heartfelt words from your nearest and dearest.
Plan Golden Hour Wedding Photos
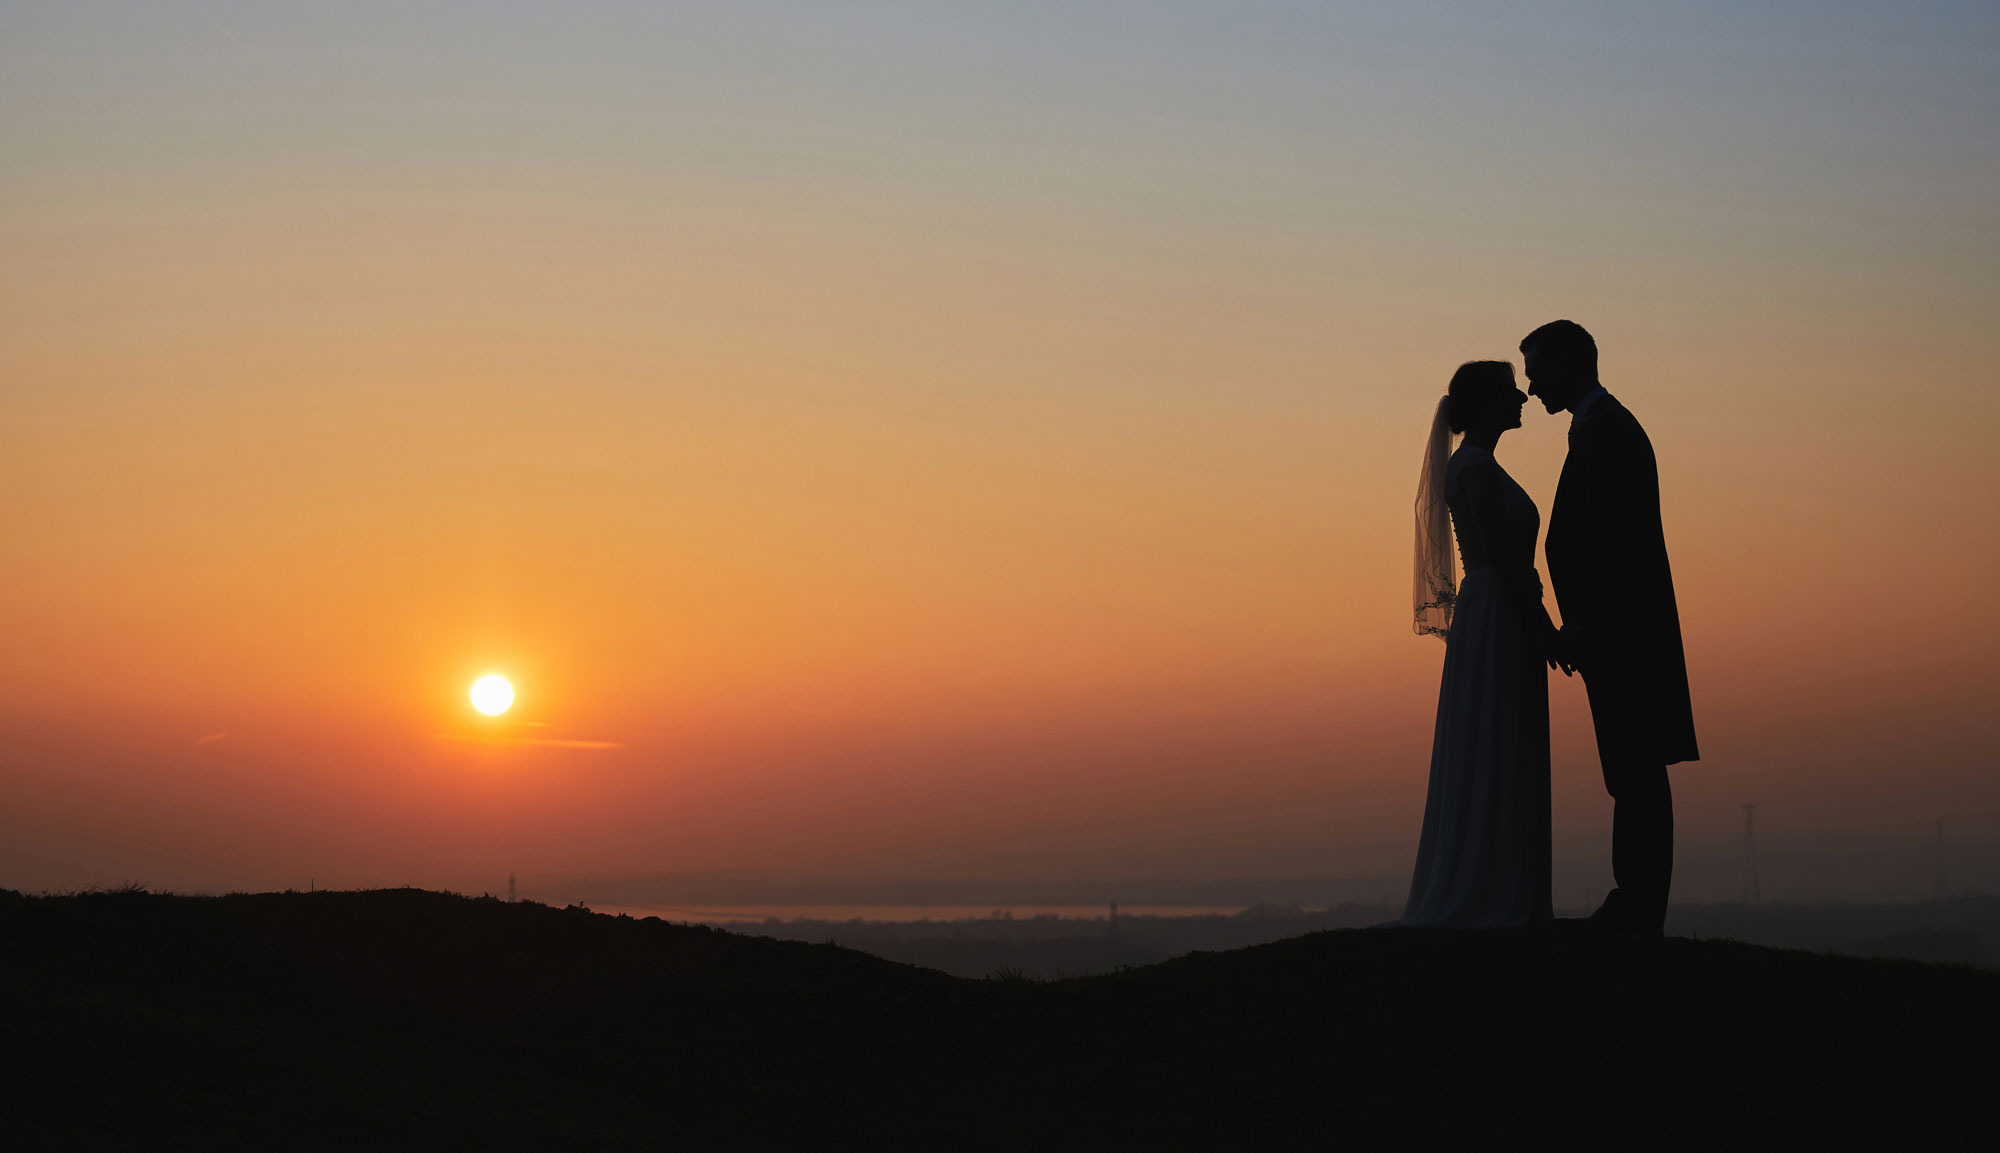
Photographers are always talking about golden hour, and with good reason. If you’re lucky enough to have sunshine on your wedding day, this brief window of time offers the most beautiful light you’ll get all day. It would be a shame not to make the most of it.
When planning your schedule, try to keep golden hour in mind. Even if your meal is due around sunset, don’t worry. I’m more than happy to slip out with you between courses if needed. I’m always available to help couples plan their timeline, so feel free to reach out anytime.
Depending on your venue’s surroundings, the ideal moment to head out is usually between 90 and 30 minutes before the sun dips below the horizon. I won’t keep you long, 30 minutes at most, and often 20 is plenty. Once we’re finished, you can invite your bridesmaids and groomsmen to join us, and maybe bring along some smoke bombs or confetti cannons for fun, vibrant group photos.

Champagne Spray
Adding a champagne spray to your evening schedule can be a lot of fun and creates unforgettable photos. Don’t worry, you don’t need to splash out on an expensive bottle of bubbly; a cheap and cheerful one works just as well! Sunset or dusk is the perfect time for this, especially if you’re backlit with flash or by the low sunlight for that magical glow. If you’re feeling brave, grab an extra couple of bottles so your bridesmaids and groomsmen can join in, too!

Wedding Sparkler Photography Tips
Heading outside with a pack of sparklers once the light has faded is a lot of fun for you and your guests. While sparkler photos look best at dusk, just after sunset, they can be equally magical in complete darkness.
When choosing sparklers, size really does matter. Opt for longer ones (around 45 cm/18 in or more), as they burn for longer and make it much easier to get everyone’s lit at the same time. They’re easy to find online.
Before buying, check with your venue to make sure sparklers are allowed. Some venues provide a handheld blowtorch that makes lighting multiple sparklers quick and efficient. If not, stock up on windproof lighters. And don’t forget to have buckets of sand or water ready for safe disposal afterward.


